Wednesday, March 9, 2011

How to Use a Ring Mandrel

A ring mandrel is a useful tool to size jewelry, to make rings and to create loops and curves when forming jewelry and sculpture. Rings mandrels are usually made of wood or tool grade stainless steel.  Rings mandrels can be graduated or stepped.

Sizing rings
Use your ring mandrel to determine ring size. Take a ring that fits well. Slide the ring onto the ring mandrel to measure ring size. In the example, the wedding ring being measured for size is measures as a size 6-1/2 on the ring mandrel.

Make Wire Wrapped Rings
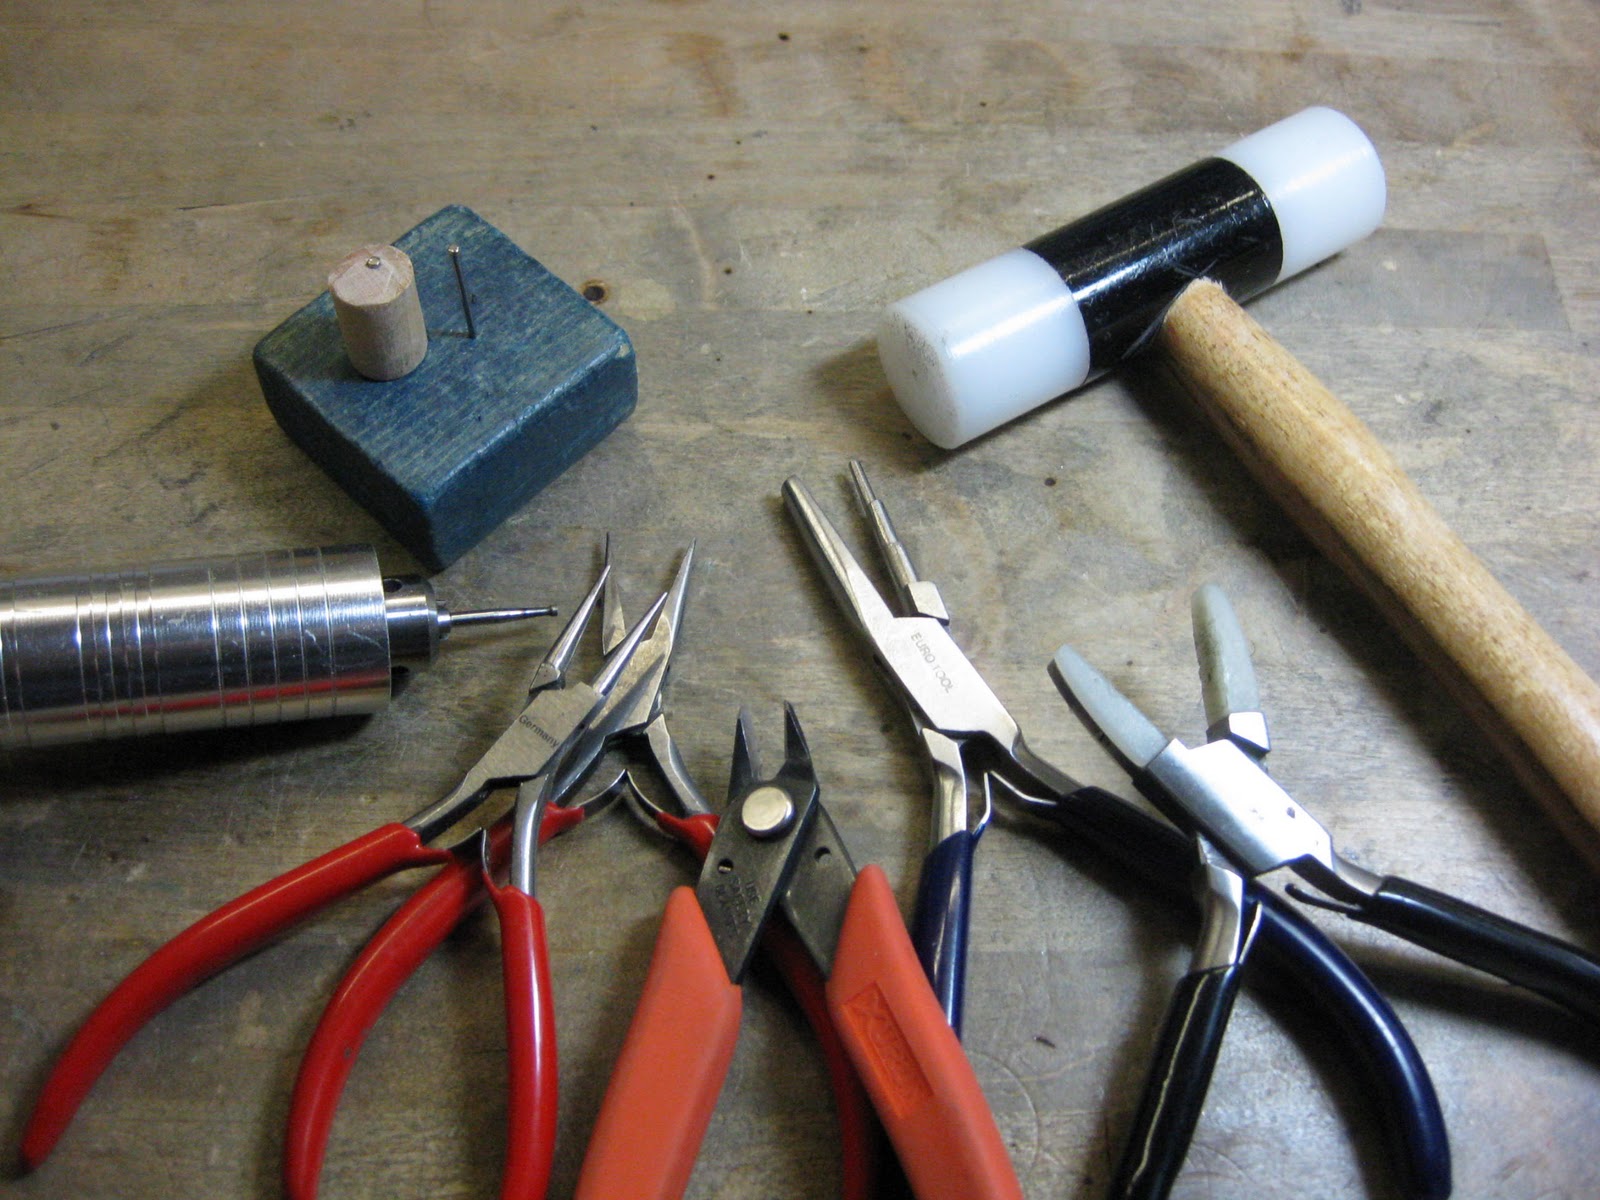
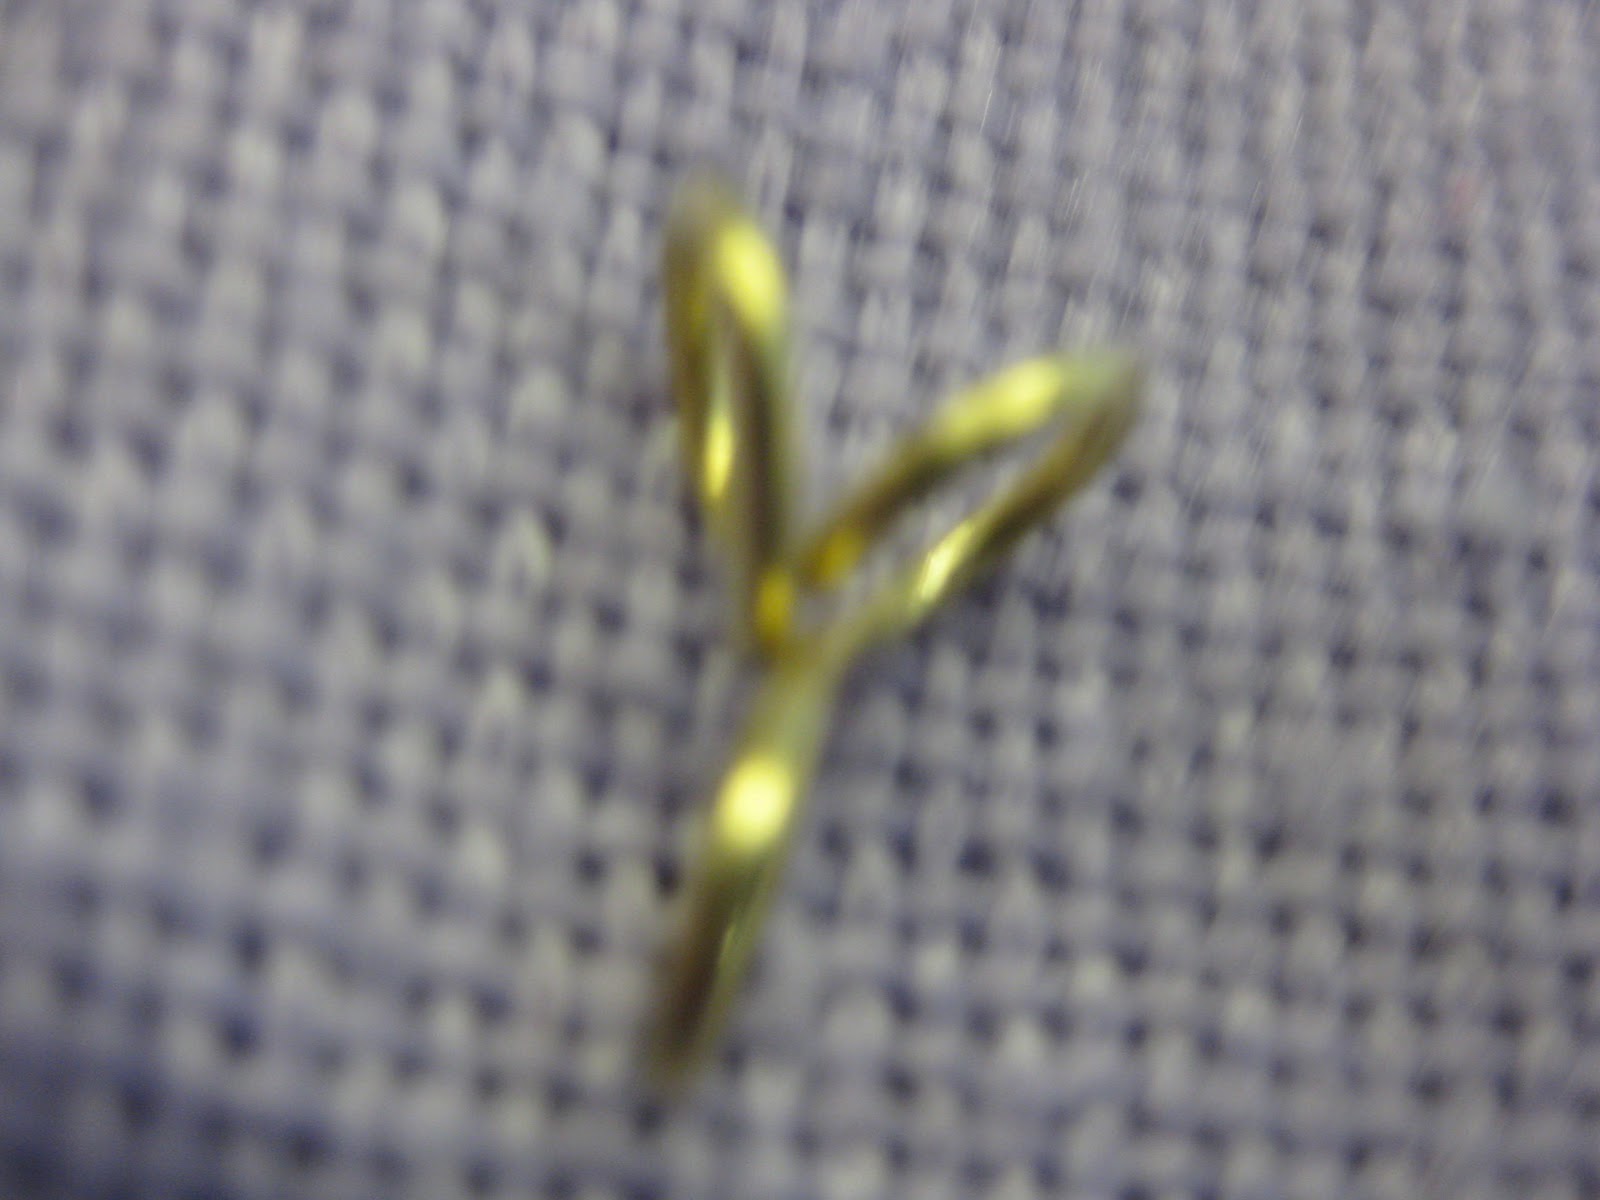
Use your ring mandrel to make rings. Take wire and wrap it around the ring mandrel the number of times you want for your ring. If you are using a thick wire that you intend to solder, then you will wrap the wire around the wire only once. In the case of wire wrapped rings using thin wire, then you will want to wrap the wire around the mandrel multiple times.

Form Metal

Use your ring mandrel to form rings or curves. For example, in the photo at left, the ring mandrel is being used to form an old silver spoon into a ring.

Further Reading
"30-Minute Rings: 60 Quick & Creative Projects for Jewelers"; Marthe Le Van; 2011.
"1000 Rings: Inspiring Adornments for the Hand (500 Series)"; Marthe Le Van, Robert W. Ebendorf; 2004.

Saturday, February 5, 2011

How to Make "Fish Hook" Ear Wires

Handmade ear wires enhance earrings. Making your own ear wires will add value to your jewelry designs, allow you to create exactly what you need for any given project and save you money.  Ear wires are easy to make. This tutorial will explain how to make a simple ear hook for pierced ears.

Materials
20-gauge round wire (sterling, gold, brass, copper or other non-ferrous metal)

Gather your toolsTools
Chain nose pliers
Needle files (optional)
Round nose pliers or
Wire looping pliers
Wire cutters
Flex shaft and 16 gauge cup bur or wire rounder
Plastic mallet

Ear Wire Jig by GeltDesigns
Step 1
Make a loop at the end of the wire using round nose or wire looping pliers. Wrap the wire around an ear wire jig, wig jig or mandrel. You can also form the the ear wire by hand by draping the wire over your finger.

We used a jig we made ourselves in our studio using blocks, a cork and nails.

Step 2
Remove the ear wires from the jig and cut the wire from the spool using wire side cutters or flush cutters to cut the wire.

Step 3
File the ends of the ear wire until smooth enough to slip through an ear. File the ends using a wire rounder or needle file or a cup burr and flex shaft.

Step 4
Place the ear wires on a steel bench block or anvil. Hammer the ear wires with a rawhide or plastic mallet to harden the ear wires and prevent them form becoming misshapen. If needed, adjust the ear wires with chain nose or bent nose pliers.

You can also harden ear wires by placing them in a tumbler with stainless steel shot.


Upcycled Earrings by GeltDesigns
Related Tutorials 
How to Make an Ear Wire Jig

How to Smooth Sharp Edges on Copper, Brass and Sterling Wire
How to Measure Wire
How to Use a Wire Gauge
GeltDesigns Tutorials by Topic

New Jewelry a Day

Further Reading
"Metalworking 101 for Beaders: Create Custom Findings, Pendants & Projects (Lark Jewelry Books)"; Candice Cooper; 2009.
"Handcrafted Wire Findings: Techniques and Designs for Custom Jewelry Components"; Denise Peck, Jane Dickerson

Wednesday, February 2, 2011

Make a Pendant Bail

Pendant by GeltDesigns.com
Making your own pendant bails and other jewelry findings can add value to your jewelry and save you money. Simple pendant bails are easy to make and require only a few tools.

Tools
Wire looping pliers or round nose pliers
Wire cutter
Flex shaft and 15-gauge cup bur or wire rounder


Make 2 loops
"S" link with 2 loops
 Step 1
Use pliers to create an "S" link from 18-gauge brass wire but wrap two adjacent loops on one side of the link.

Step 2
Cut the excess wire. File the ends until smooth using a flex shaft and 15-gauge cup bur , if you have them. A less expensive alternative is to use either a wire rounder or a needle file.
Open loops

Step 3
Use your pliers to pry apart the two adjacent loops.


Step 4

Adjust bail
Open the lower jump ring and attach the bail to the pendant.

Adjust spacing as needed so the bail allows the pendant to hang evenly.

Open the lower jump ring and attach the bail to the pendant.

Related Tutorials
Make a Stamped Pendant from a Washer
One World One Heart 2011 Giveaway

Further Reading
"Handcrafted Wire Findings: Techniques and Designs for Custom Jewelry Components"; Denise Peck; 2010.
"Metalworking 101 for Beaders: Create Custom Findings, Pendants & Projects (Lark Jewelry Books)"; Candice Cooper; 2009.
"Jewelry: Fundamentals of Metalsmithing (Jewelry Crafts)"; Tim Mccreight; 1997.

Thursday, January 20, 2011

NJAD Index by Type of Found Object

Yesterday, we published an index of our first sixty New Jewelry a Day projects by type of jewelry. Today, we present an index of the first sixty projects by type of material used to create each NJAD project:

Bottle Caps
Make Chanukah Menorah Earrings from Plastic Bottle...

Buttons
Make a Leather & Button Bracelet
Make a Button Bracelet
Make Button Earrings
Make a Chain and Button Bib Necklace

Chain
Make a Belt from Brass Chain
Make a Chain and Button Bib Necklace

Duct Tape
Make a Braided Duct Tape Bracelet
Make Duct Tape Earrings
 
Game Pieces
Make Post Earrings from Vintage Game Pieces

Gift Card
Make Post Earrings from a Gift Card
Make a Necklace from a Credit Card
Make a Bracelet from a Gift Card
Make Earrings from an iTunes Gift Card

Glass
Make a Pin from a Glass Pebble
Make Glass & Copper Earrings
Make Leather & Lampwork Glass Bead Earrings
Make a Pendant from a Bottle
Turn a Glass Jar into a Pendant
Make a Glass & Knotted Leather Necklace
Make a Glass & Brass Link Bracelet
Make Recycled Glass & Sterling Silver Earrings
Make a Kiln Formed Bracelet
Make a Glass Charm Necklace

Hair Bands
Make a Stone & Elastic Belt 

Hardware
Make a Three Strand Bracelet from Copper Washers
Make a Bib Necklace from Washers
Make Earrings from Grommets
Make a Bracelet from Grommets

Holidays
Make a Stamped Bracelet
Make a Pin from a Glass Pebble
Make LEGO® Christmas Earrings
Make Chanukah Menorah Earrings from Plastic Bottle Caps
Make a Dreidel Pendant
Make Dreidel Earrings

Leather
Make a Leather & Brass Link Bracelet
Make Leather & Lampwork Glass Bead Earrings
Make a Leather & Button Bracelet

LEGO®
Make a LEGO® and Chain Necklace
Use LEGO® as Beads to Make a Necklace
Make LEGO® Christmas Earrings
Make a Giant LEGO® Necklace
Make Lego Earrings

Misc
Make a Ring from Gimp
Turn an Earring into a Pendant
Make a Necklace from Shells
Make Earrings from Shoe Charms

Paper
Make Earrings from Paper

Pipe
Make an Enamel Necklace from a Copper Pipe
Make a Beaded Bracelet with Copper Pipe & Wire
Make a Neck-Ring from Copper Pipe
Make a Bangle Bracelet from a Copper Pipe

Scrap Metal
Make Earrings from Paper
Make Glass & Copper Earrings
Make Earrings from Scrap Wire
Make a Stamped Bracelet
Make Earrings from Copper Wire
Make a Tricolored Riveted Pendant & Chain
Make Tricolored Riveted Earrings

Steel
Make a Bangle Bracelet from Steel Wire
Make a Bracelet from Steel Wire
Make Earrings from Steel Wire

Toys
Make a Necklace from Figurines
Make a Lizard Pin from a Toy
Make Dog Earrings from Toys
Make Post Earrings from Vintage Game Pieces
Make a Dreidel Pendant
Make Dreidel Earrings

Wednesday, January 19, 2011

NJAD Index by Type of Jewelry

Today is day 60 of our New Jewelry a Day project. So far we have been able to resist the temptation to supplement our ample craft supplies and have made 60 projects upcycling, repurposing and using only what we have. To find new materials, we've sorted through the recycling bin multiple times and spent a lot of time going through toy boxes...but so far we girls met our self imposed goal of spending no money on our NJAD project.

As we work through our craft materials and use things up, the project gets more demanding...but that also mandates more creativity. All in all...not a bad way to spend a very chilly winter.

Here is an index of projects to date by type of jewelry or accessory made:

Belts
Make a Belt from Brass Chain
Make a Stone & Elastic Belt (Made from Hair Bands)

Bracelets
Make a Stamped Bracelet
Make a Braided Duct Tape Bracelet
Copper Bracelet by GeltDesigns.com


Make a Leather & Brass Link Bracelet
Make a Three Strand Bracelet from Copper Washers
Make a Leather & Button Bracelet
Make a Beaded Bracelet with Copper Pipe & Wire
Make a Bracelet from Grommets
Make a Glass & Brass Link Bracelet
Make a Bracelet from a Gift Card
Make a Button Bracelet
Make a Bangle Bracelet from Steel Wire
Make a Bracelet from Steel Wire
Make a Bangle Bracelet from a Copper Pipe
Make a Kiln Formed Bracelet 

Earrings
Make Earrings from Scrap Wire
Make Dog Earrings from Toys
Make Glass & Copper Earrings
Make Post Earrings from a Gift Card
Make Leather & Lampwork Glass Bead Earrings
Make LEGO® Christmas Earrings
Make Duct Tape Earrings
Make Earrings from Grommets
Make Post Earrings from Vintage Game Pieces
Make Earrings from an iTunes Gift Card
Make Earrings from Shoe Charms
Make Earrings from Copper Wire
Make Chanukah Menorah Earrings from Plastic Bottle Caps
Make Dreidel Earrings 
Make Earrings from Steel Wire
Make Tricolored Riveted Earrings
Make Recycled Glass & Sterling Silver Earrings
Make Lego Earrings
Make Button Earrings

LEGO®  Necklace by GeltDesigns.com

Necklaces
Make a LEGO® and Chain Necklace
Use LEGO® as Beads to Make a Necklace
Make a Necklace from a Credit Card
Make a Giant LEGO® Necklace
Make a Bib Necklace from Washers
Make a Necklace from Shells
Make a Glass Charm Necklace
Make a Chain and Button Bib Necklace

Neck-Rings
Make an Enamel Necklace from a Copper Pipe 
Make a Neck-Ring from Copper Pipe

Pendants
Make a Pendant from a Bottle
Turn a Glass Jar into a Pendant
Turn an Earring into a Pendant
Make a Dreidel Pendant
Back of Pin made by GeltDesigns.com

Make a Tri-colored Riveted Pendant & Chain

Pins
Make a Lizard Pin from a Toy
Make a Pin from a Glass Pebble

Rings
Make a Ring from Gimp

Tuesday, January 18, 2011

Questions about Glass Clay

Pate de verre Turtle Earrings by GeltDesigns.com
We received a number of questions recently from folks working with commercially made glass clay. Sorry. We never used the stuff. We began making our own glass clay long before anybody was selling glass clay commercially so we really cannot comment on why folks seem to be having difficulty using the commercially prepared product... other than to say there is a learning curve with all warm glass techniques.

Pate de Verre on a Wire: Think Spring
by GeltDesigns.com

When we began experimenting with different pate de verre techniques (including freeze and fuse and glass clay) we had a LOT of mistakes, failures and really ugly experiments. It happens.

Two years ago I was invited to give a presentation on Pate de Verre and PMC at the PMC Conference, another presenter discussed freeze and fuse and I was surprised at how different their firing schedule was from my own.

When it comes to both freeze and fuse and glass clay, in our studio we tend to allow the clay to dry out longer, fire a LOT slower and anneal the glass longer than did some of my presenting peers... but then we are always always trying to push the envelope to tease out the most colors in my work.

Bottom line: kilns vary and firing schedules are not absolute. Keep detailed records and expect trial and error when working with glass clay... and consider making your own. It is not difficult to do and you can make a greater variety of colors.


Pendant by GeltDesigns.com
Related Tutorials
All about Glass Clay
How to Make Glass Clay
How to Use Glass Clay
How to Form Glass Clay
How to Fire Glass Clay
Freeze and Fuse: Pate de Verre the Easy Way
 
Further Reading
Warmglass.com